
Ordering And Setup
Pre-Ordering and the Long Wait
If you go to the Raspberry Pi Website you can find ordering options after clicking “Buy Now”. Everything was sold out :(. Fortunately, Canakit gave the offer to pre-order it. I pre-ordered it on January 18th, 2022 and it said “Pre-order ships February 28th” if I remember correctly. It ended up shipping on April 1st, 2022. This was the biggest hassle of the whole process, but at last on April 4th, I had received the pi. It was $45.00 (excluding shipping).
Gathering the Rest
Now that I had the computer I needed a few more things to get it fully setup:
- Raspberry Pi Keyboard (Optional)
- $17.00 - I had an existing wireless keyboard, but thought this looked cool and I prefer it over my previous one. Had to re-map the key bindings to be like the Mac keyboard.

- Raspberry Pi Mouse (Optional)
- $8.00 - I had an existing mouse, but thought this would be cool to have. I didn’t really like it though, and don’t use it currently. I bought the keyboard + mouse bundle when I ordered from Canakit.

- Raspberry Pi Case (Sort of Optional)
- $7.49 - Case was little finicky/cheap, but I’m glad I have it.

- Raspberry Pi Power Supply
- $7.99 - The power you need to turn on the raspberry pi.

- USB Mac Dongle (Optional, Mac Only)
- $36.98 - Needed this to write to the MicroSD card (came with adapter), but I also was meaning to get one of these for a while.

- Micro HDMI to HDMI
- $8.99 - Need this to display the screen, micro part goes into the raspberry pi and the full hdmi goes into a monitor (already had).

- Micro SD Card 128 GB
- $24.81 - 128GB is a little over kill, but this is what you write the operating system onto and it stores all the data for your pi.

Total Cost
In total excluding shipping it was $156.26, but that includes optional things.
You are probably looking at between \$75-$100 depending on what you already have at home.
Writing OS to Micro SD
If you bought a NOOBS Micro SD card, you don’t need to do this step. Otherwise, the raspberry pi needs an operating system to work. Following these steps, write the raspberry pi OS to the micro SD card. [Edit: 4 months later and I’m needing the 64 bit OS to run a docker image so I’m going to re-image everything. So install 64-bit, especially if you want to use Docker]. I used the adapter that came with the San Disk Micro SD and inserted that into the Mac dongle slot for the SD Card. I just did the recommended OS.
Connecting and Booting Up
Basically following these steps:
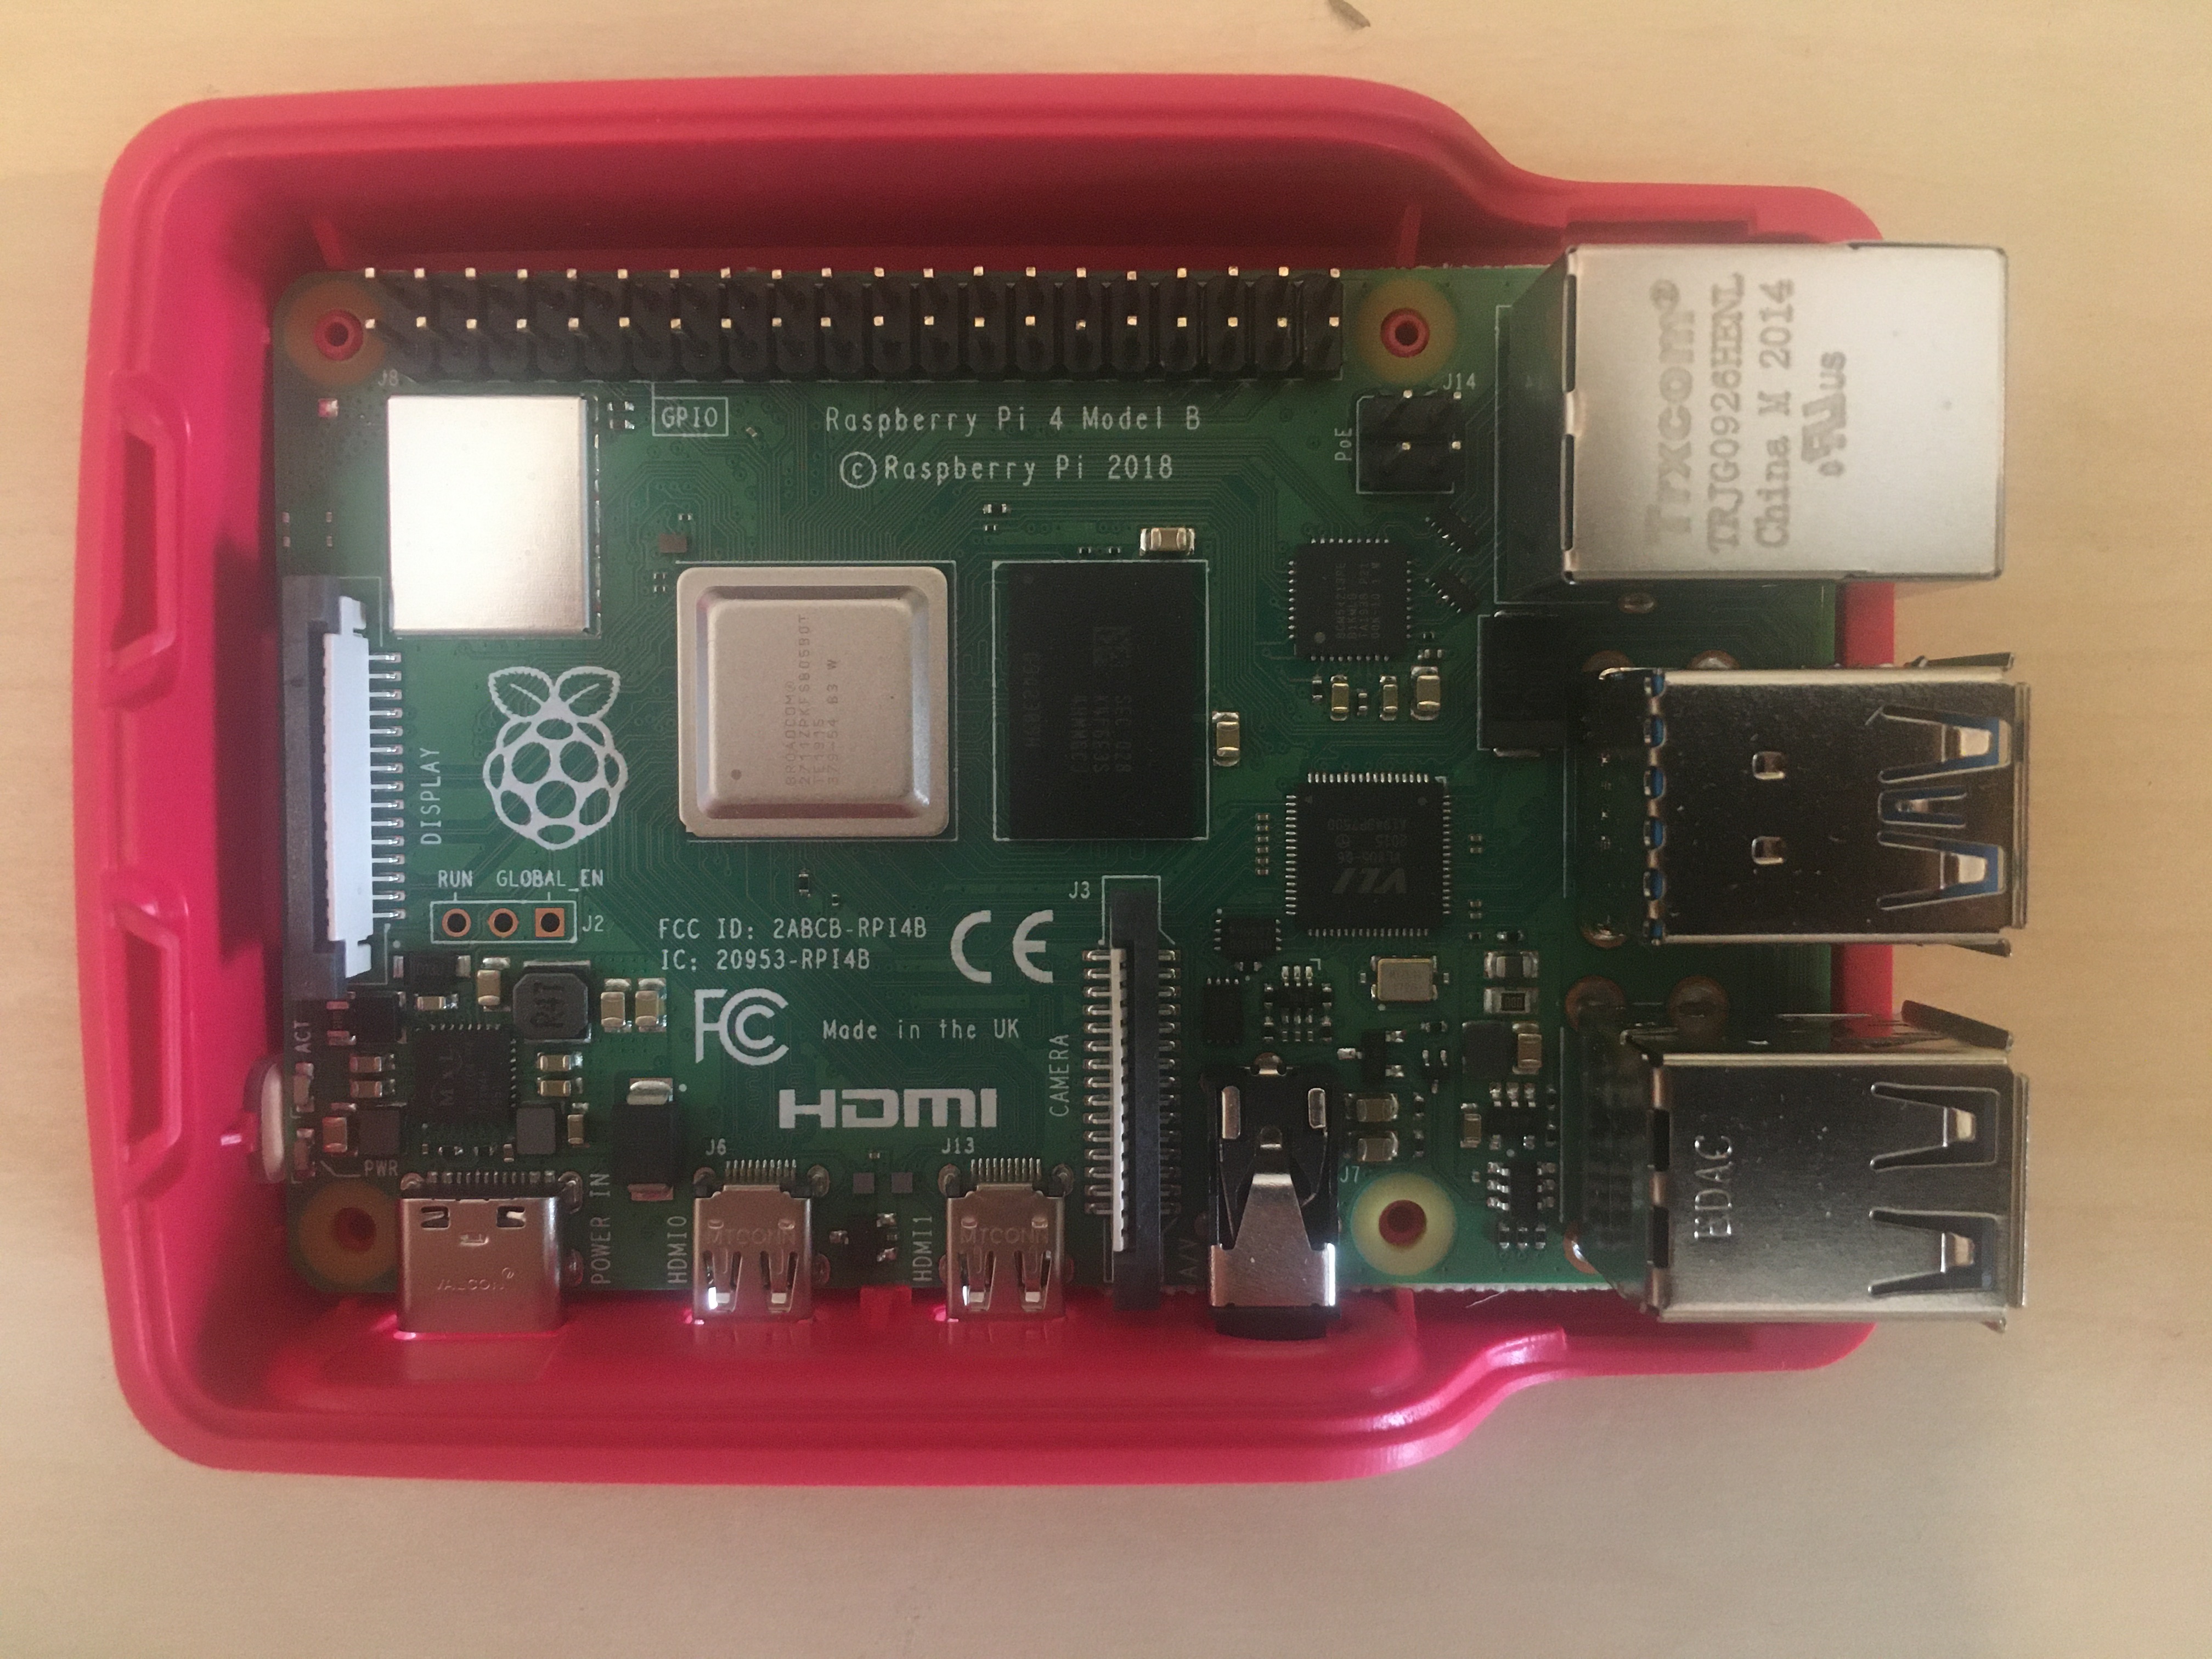
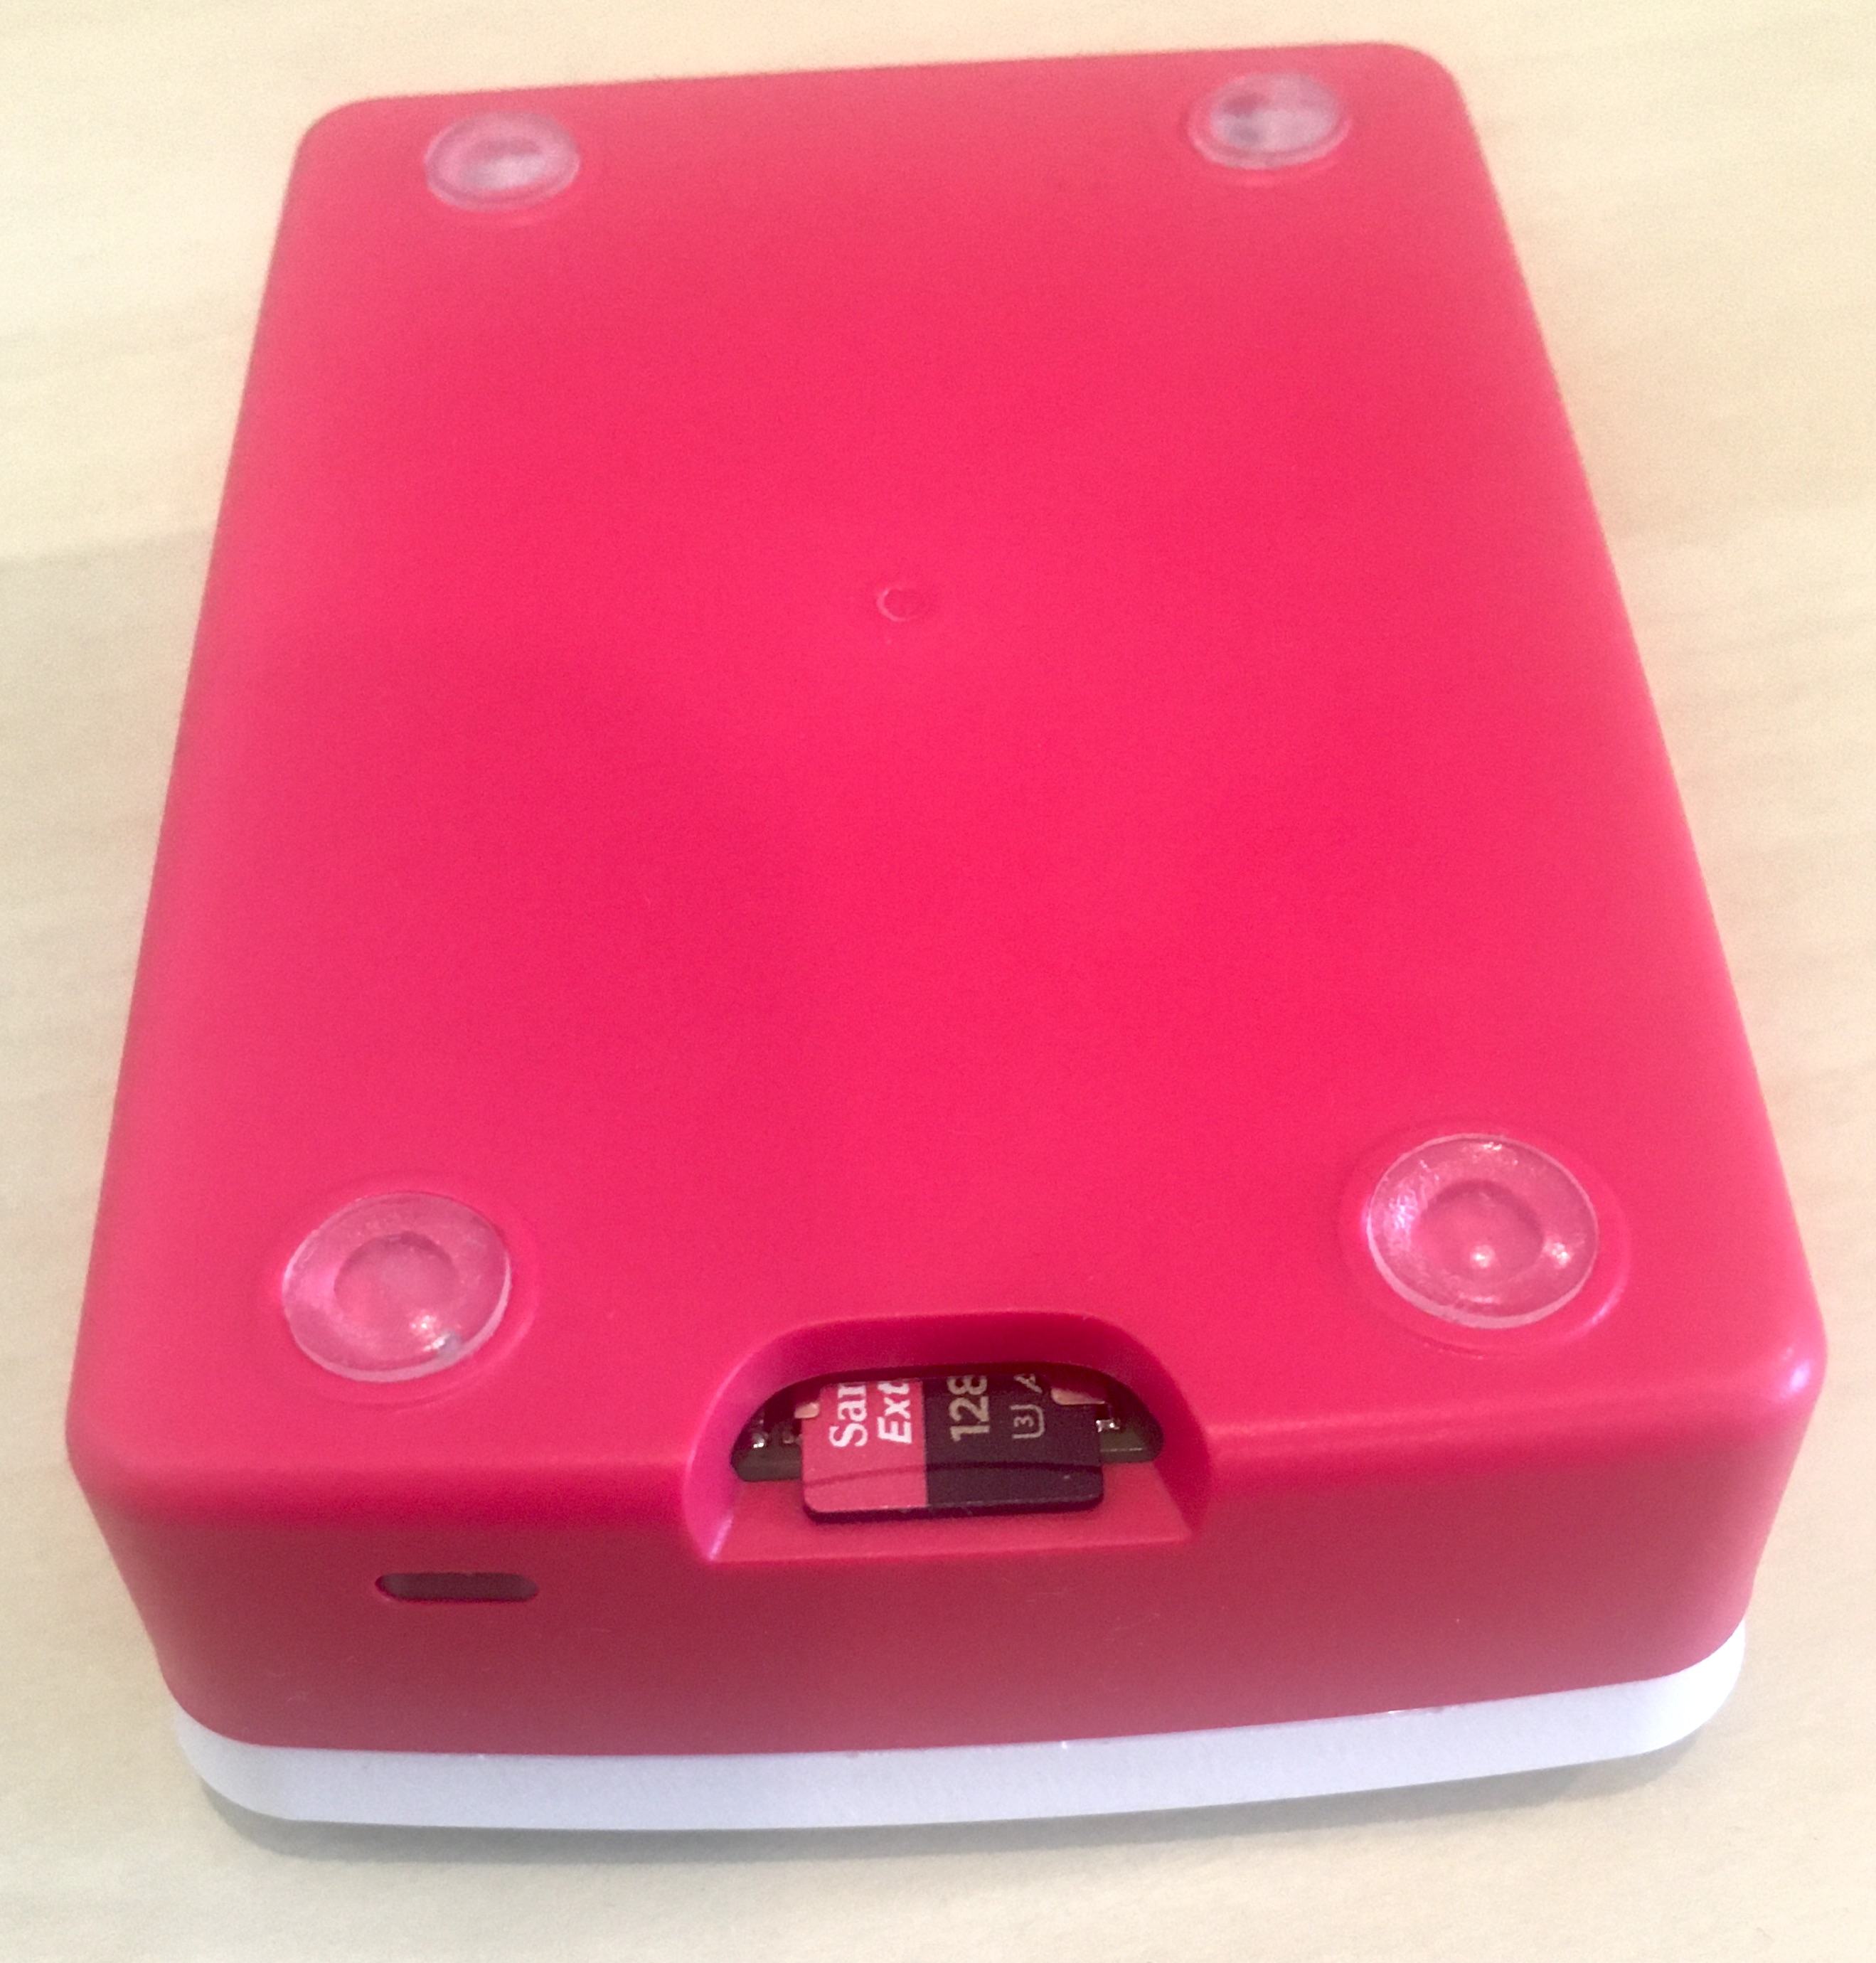
- Place into the case and insert the Micro SD card (with OS written to it) like so:
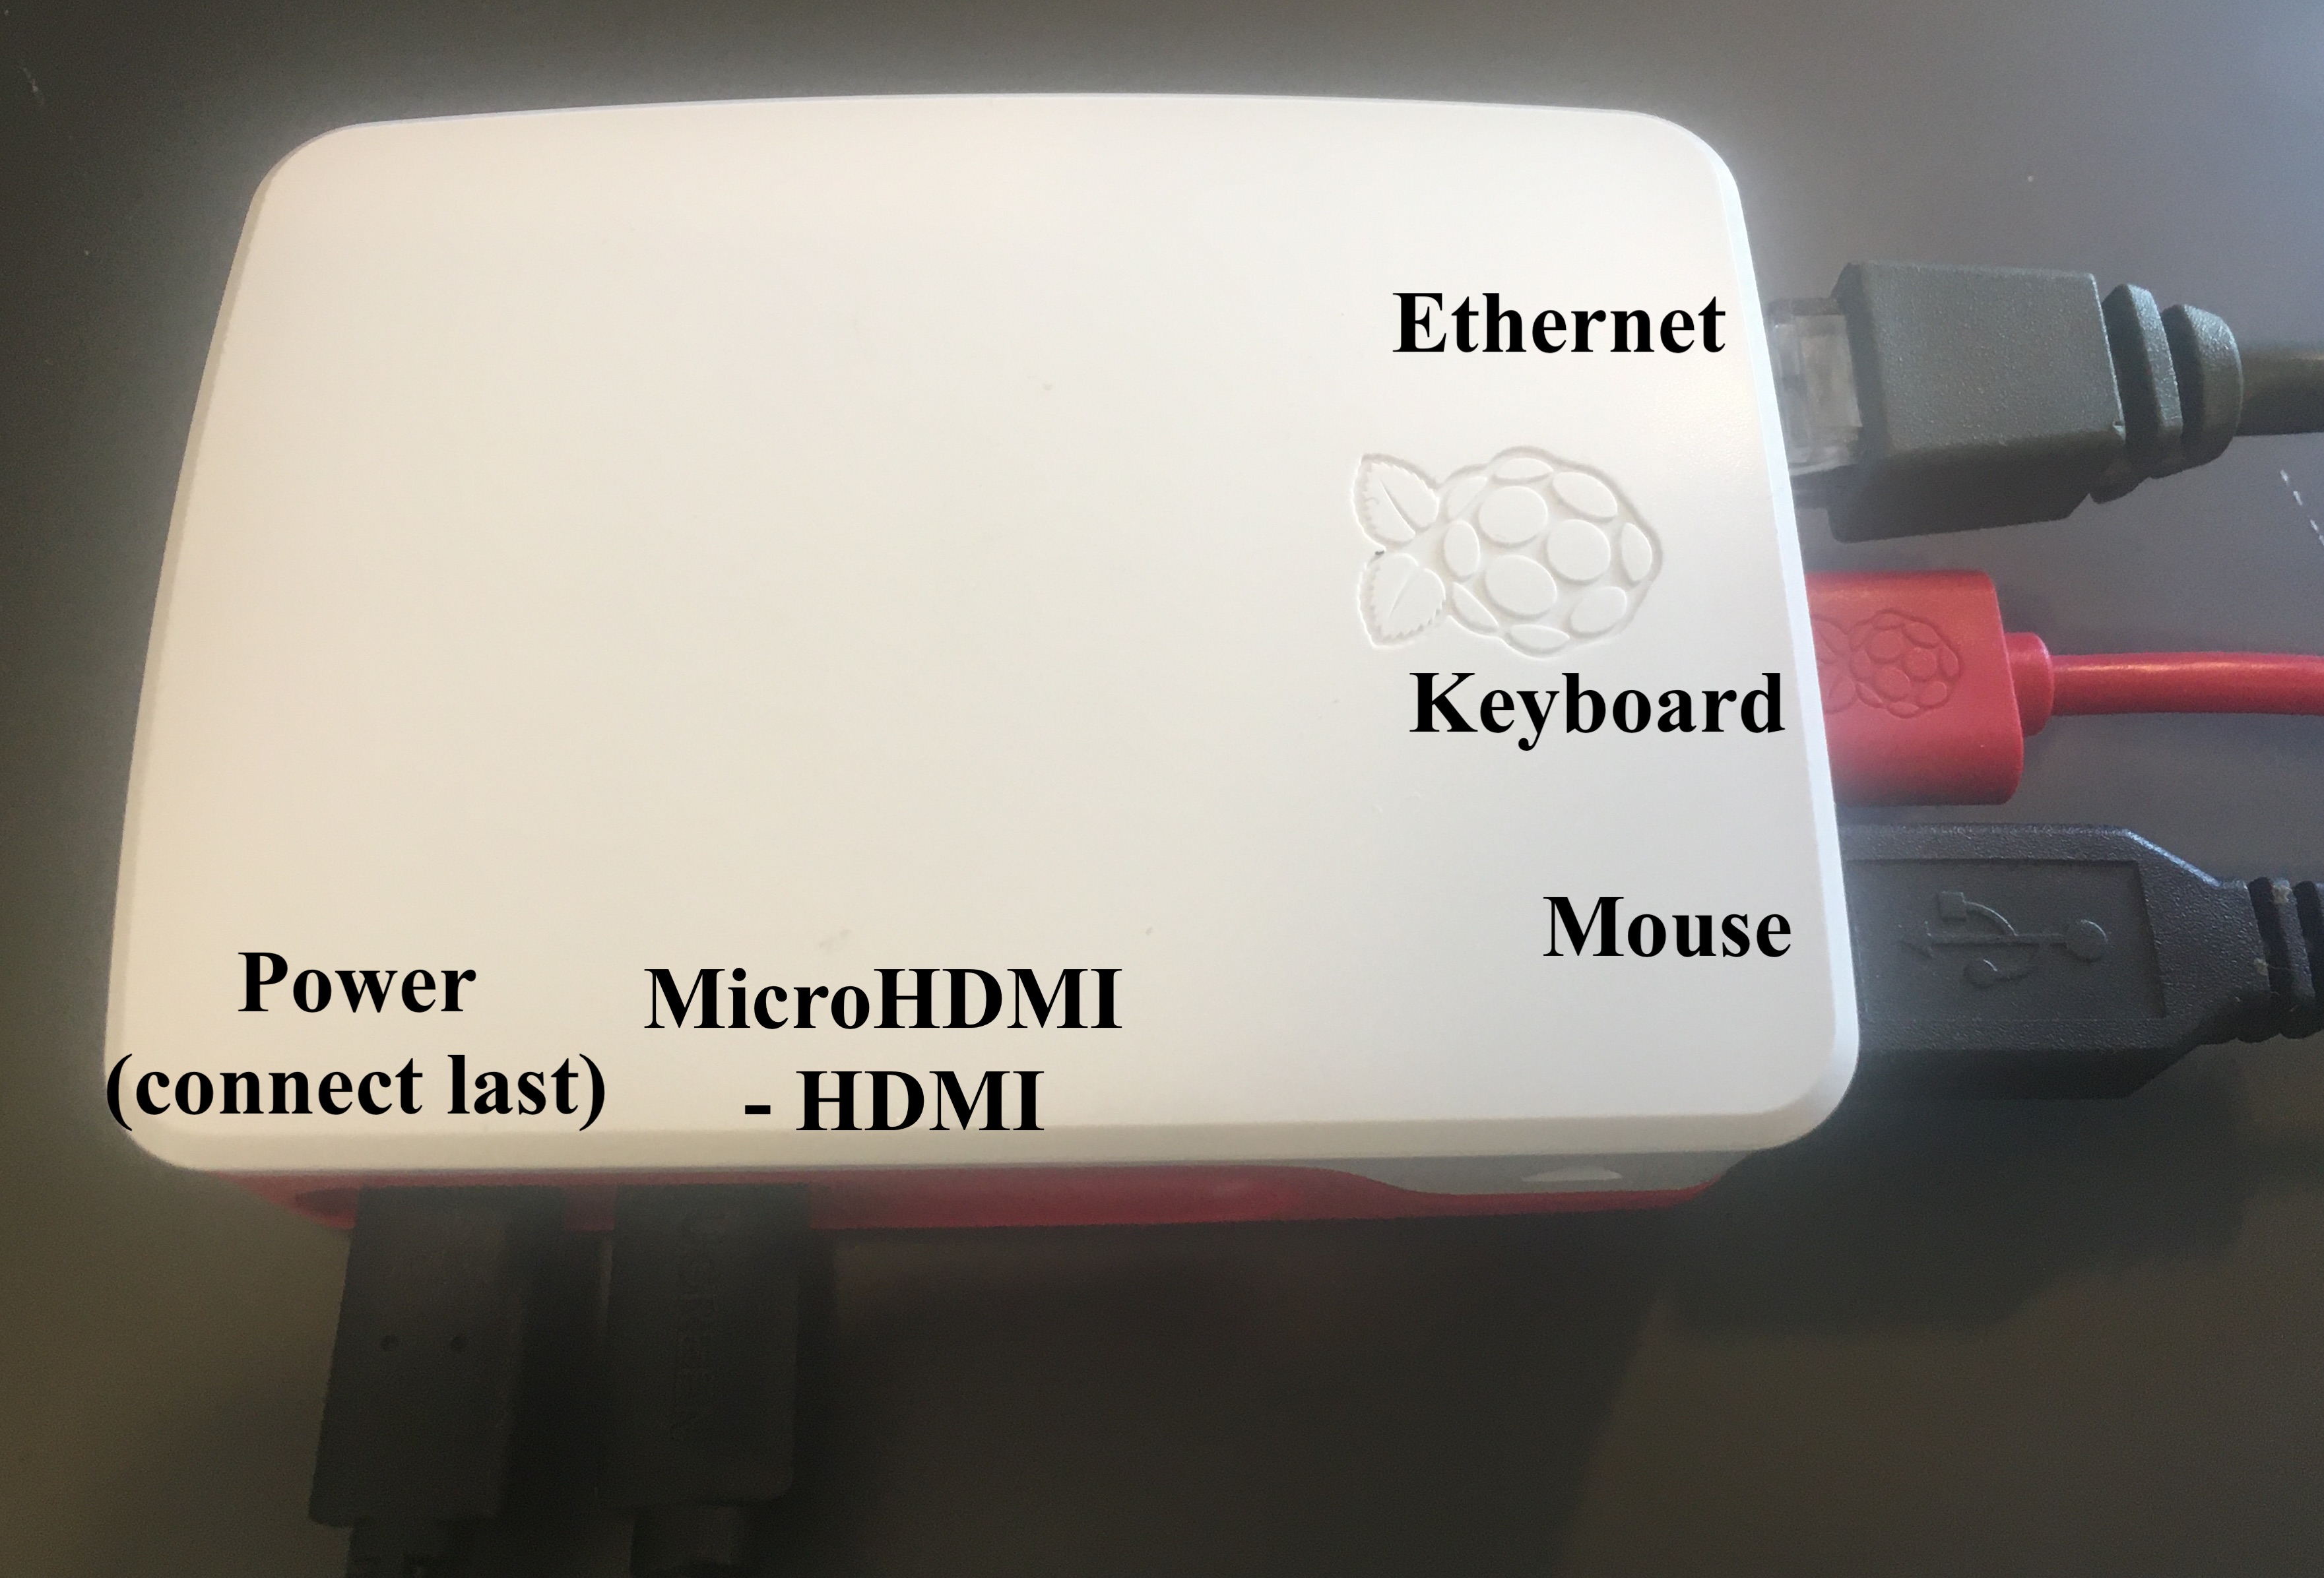
- Connect ethernet cable (optional), mouse, keyboard, micro HDMI, and power supply (last):
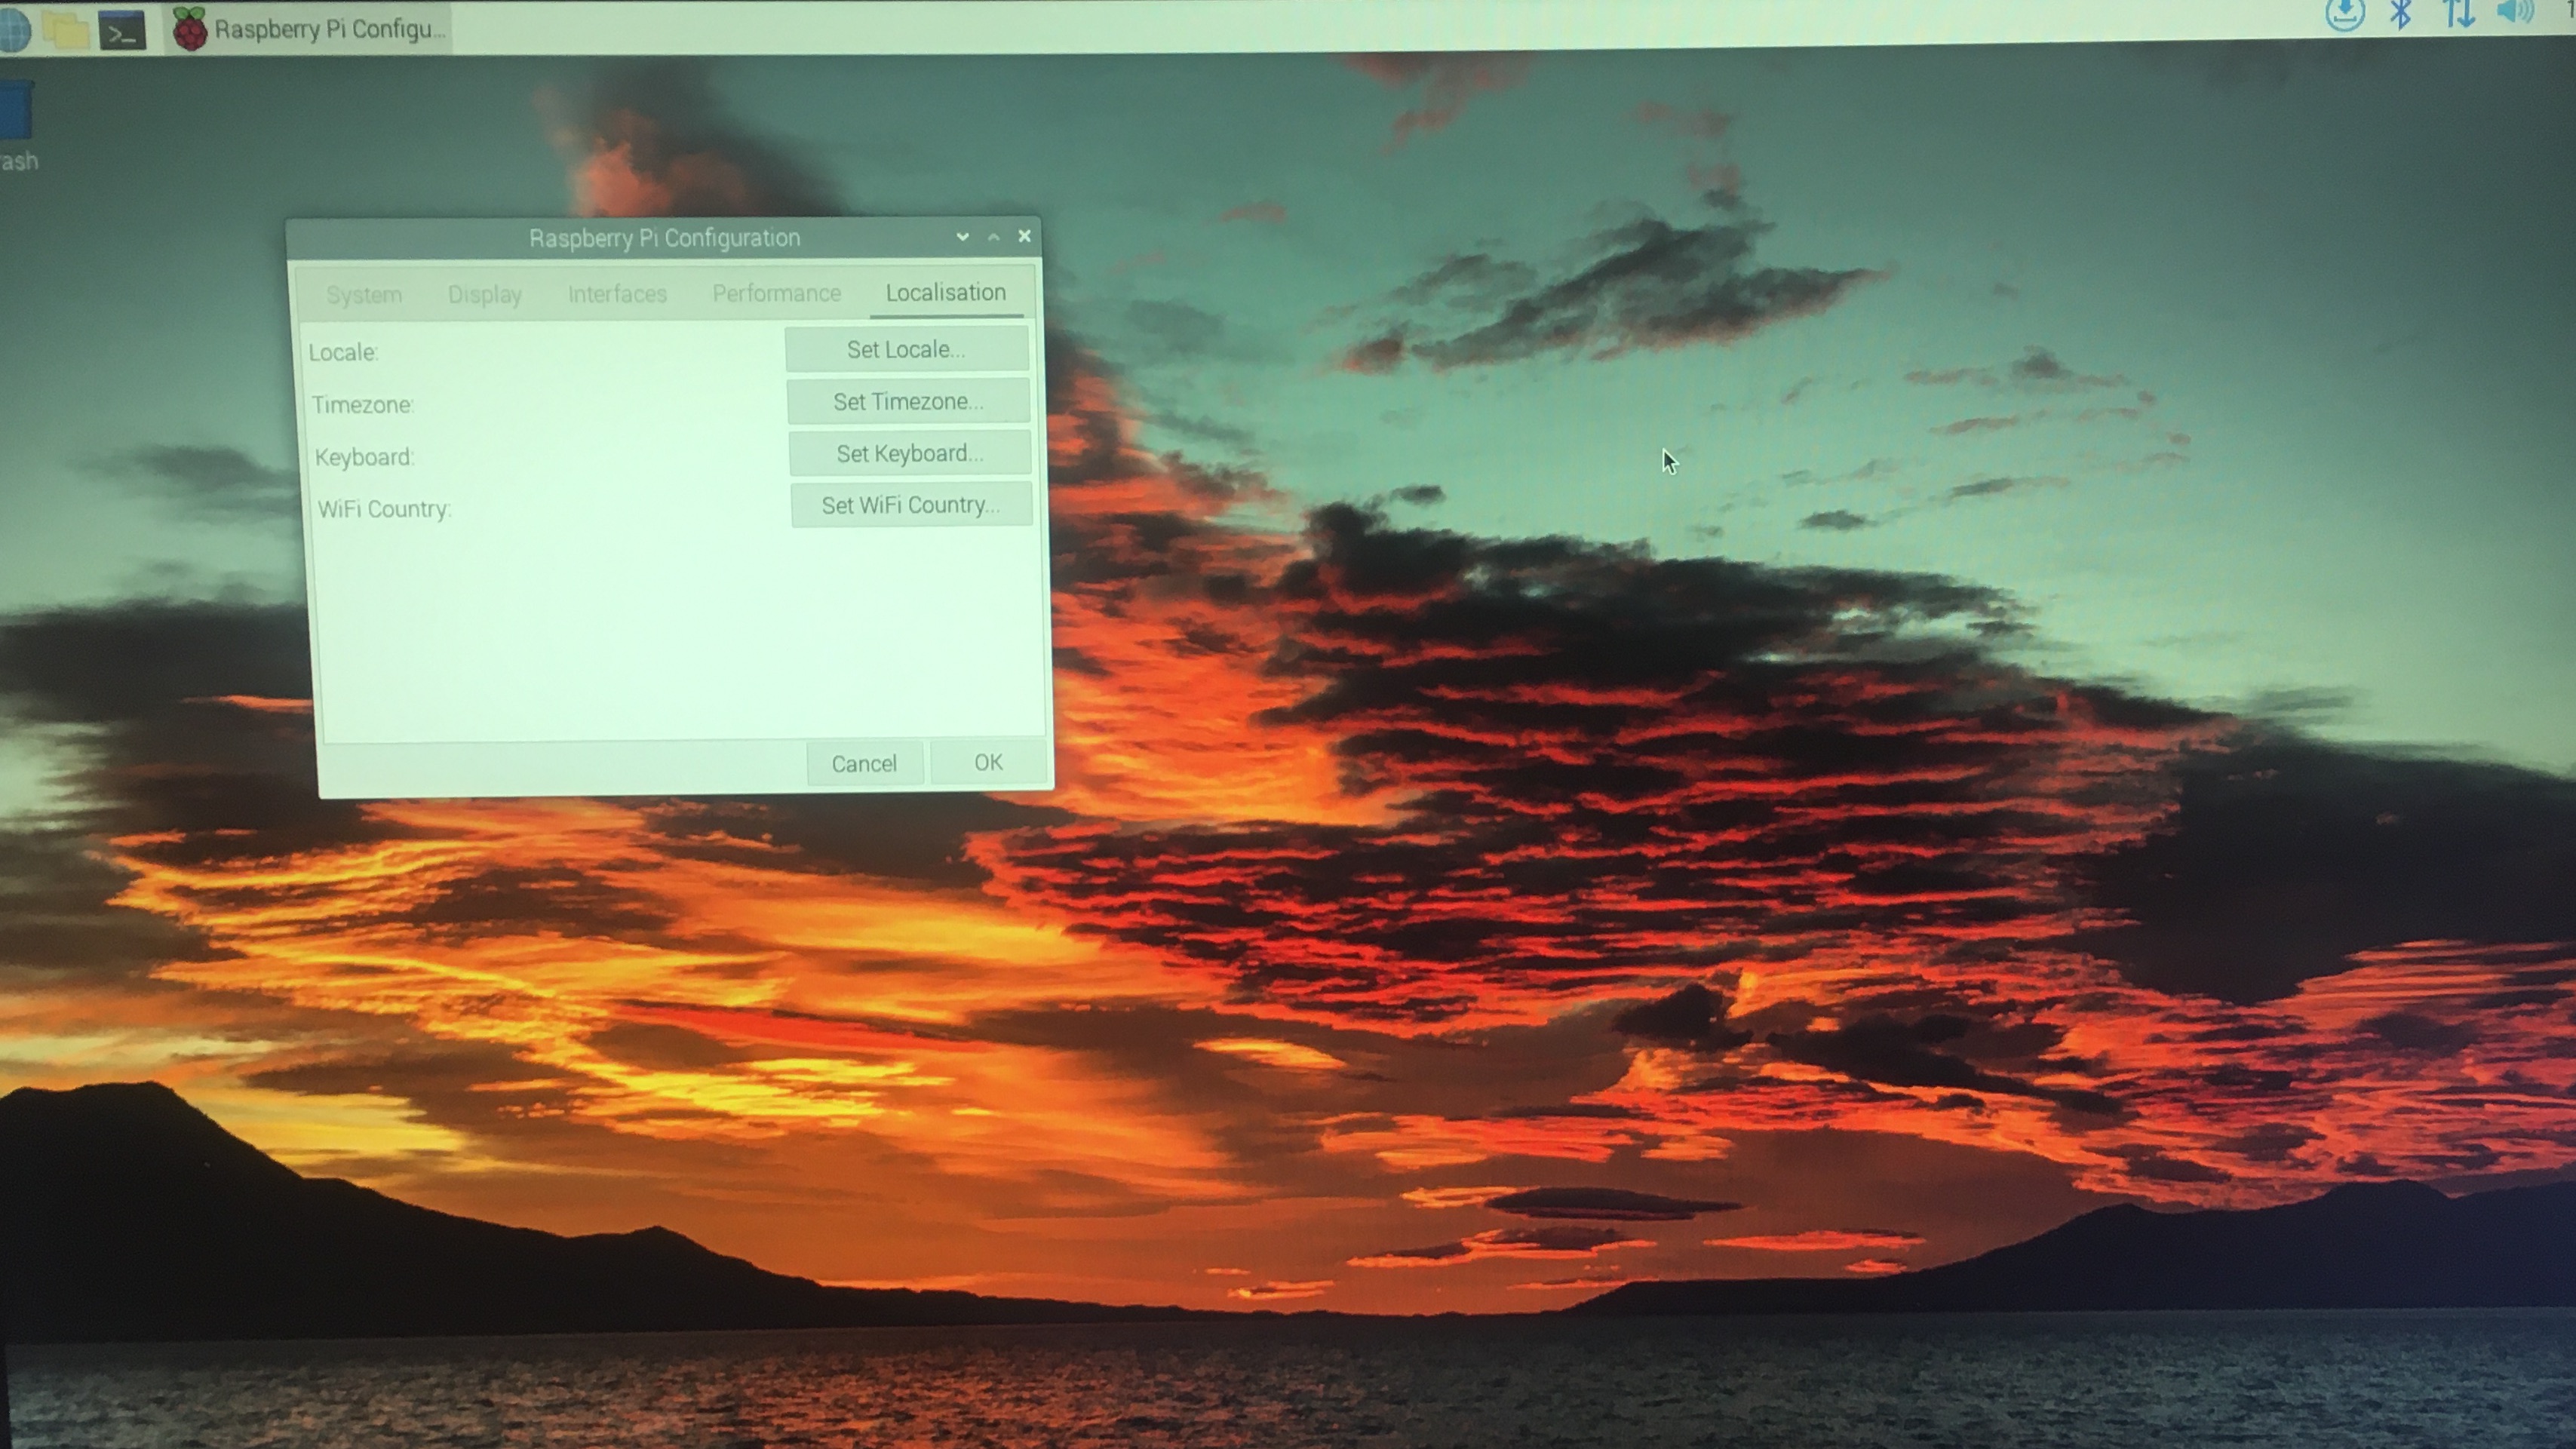
- You should see the OS booting and the desktop appear on your monitor (connected via HDMI-Micro HDMI):
Next we’ll look at setting up an SSH connection so that we can run the raspberry pi without needing the mouse, keyboard, or HDMI connections.